Sourcing Timbers and Brackets for our Post and Beam Great Room

This past winter was the coldest Ontario has seen in 20 years. Spring is officially here however the nicer weather hasn’t exactly arrived yet. After checking in with our builder, it appears we’ll need a little more patience before the roads dry up allowing us to get back into the construction scene.

During our planned sea container construction downtime, we have been busy preparing for our next steps.

1. Source big timbers

We believe in local sourcing to support the community and to reduce shipping costs. These savings will ultimately reflect in our final construction costs so we searched for a nearby sawmill with the capacity and capability to mill up dimensional timbers as large as 10″ x 10″, and some as long as 26 ft.  Sure enough, just one concession road over from the project site, our friendly local sawmill was up for the task.  Timbers of this size require a long lead time. Our order was placed months ago in order to align with our spring construction period.

2. Source heavy steel brackets

Another long lead time item are the custom heavy steel brackets for connecting the post and beam timber works.  For ease of on site assembly, and for the beefy rustic look, we decided to go with heavy steel brackets instead of custom fit hand carved joints.  Once the final dimensions of the rough sawn timbers were confirmed, design and engineering of the brackets were finalized, and off they went into the fabrication shop for manufacturing, and over to the finishing shop for a hot dipped galvanized treatment.

Now we wait for the ground to dry up.

Once we mobilize the crane, the containers will be placed on their foundations. Then we start building the great room.

The following preparation and progress has occurred while the site lay in winter hibernation:

  1. Post and beam timbers sourced and cut, ready for delivery
  2. Manufacturing of enormous engineered brackets and hot dip galvanizing, ready for delivery
  3. Researching off-grid power and determining requirements of the cabin, keeping us busy –  interesting findings on the latest energy storage technologies post to follow
  4. Documenting interior design requirements so that a furniture, electrical and lighting plan could be created to optimize the living space. We have an exciting interior designer engaged – deserving of her own dedicated post.
  5. Did we mention we’re hoping to have the sea container cabin project filmed for a TV series?  Film producers are excited about the rich content of this project, so we’ll see if they can keep up with the speed of the build this summer.
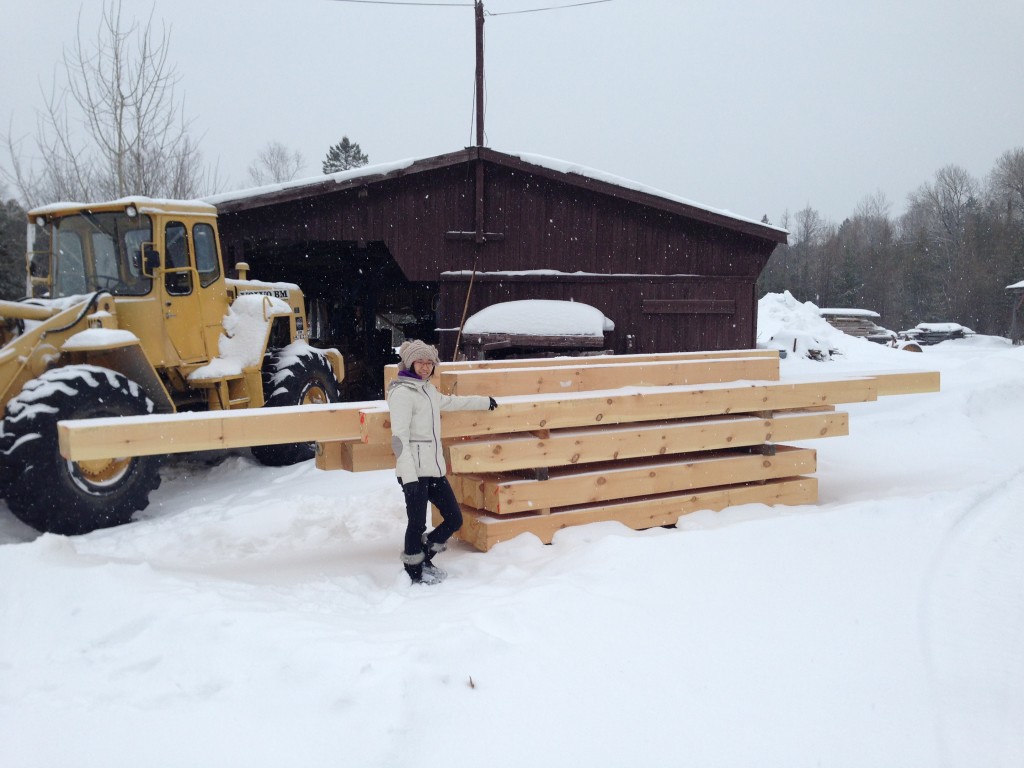
white pine timbers for sea container cabin

First load of timbers for the great room are waiting to be delivered.

If you would like greater detail on any of these topics or just want to hear more about our experiences, contact us or leave us a comment below. Your interests do influence our future community blog topics. You can also follow us on our journey by signing up for our emails.
Building Foundations for a Rocky Landscape

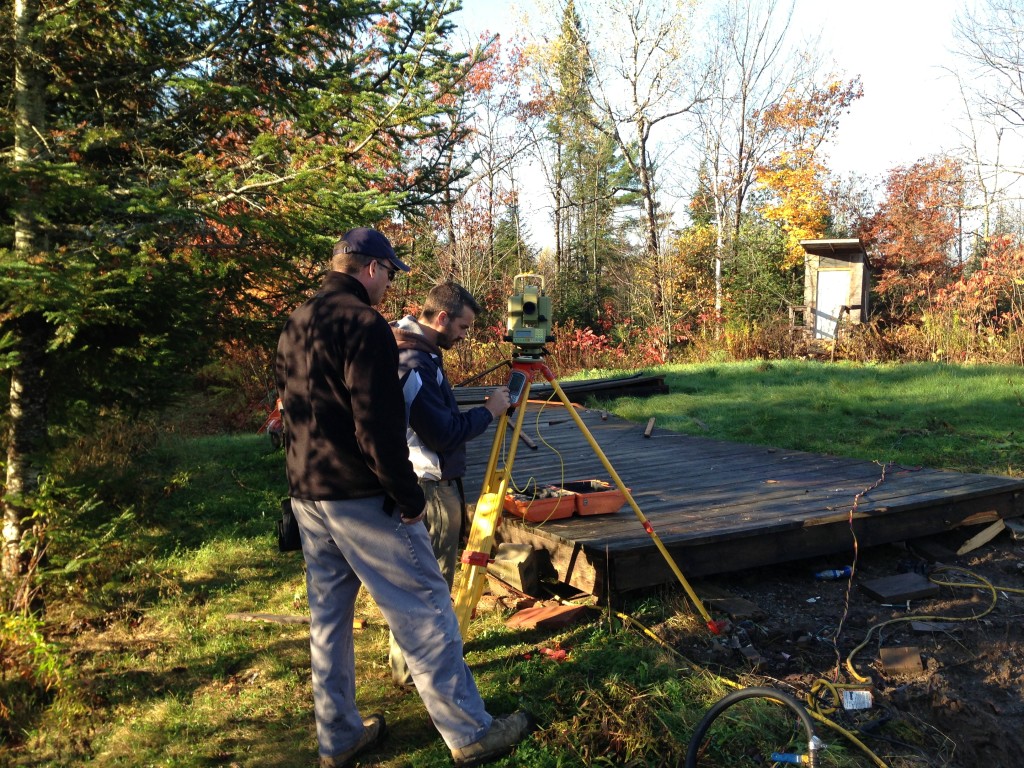
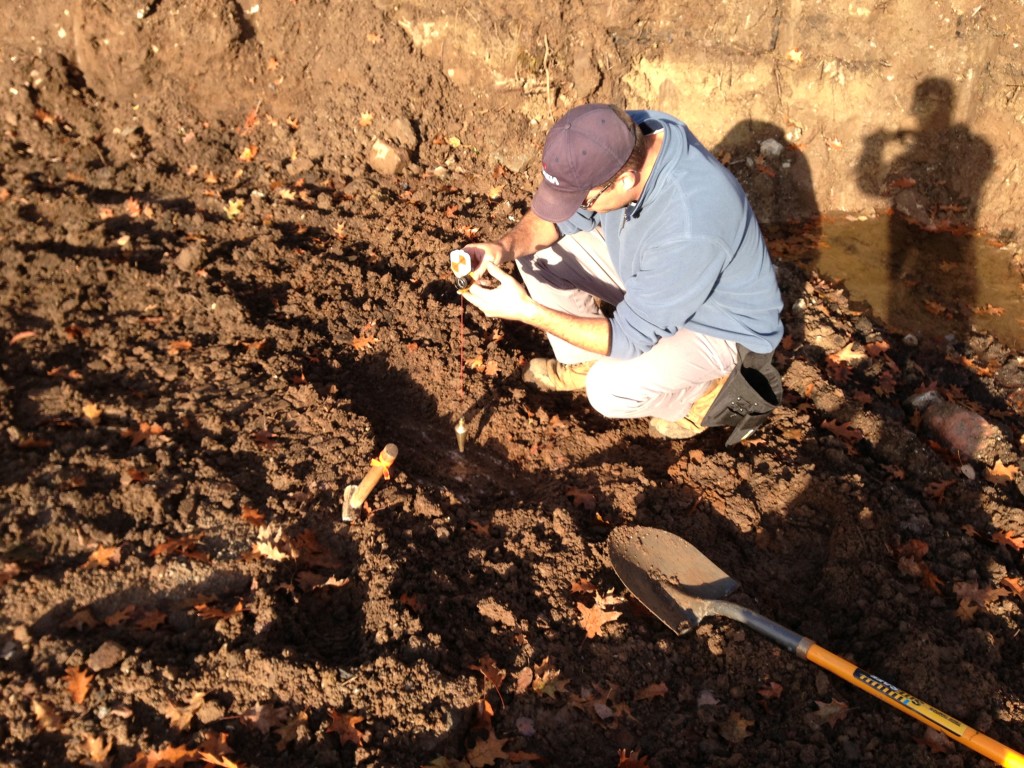
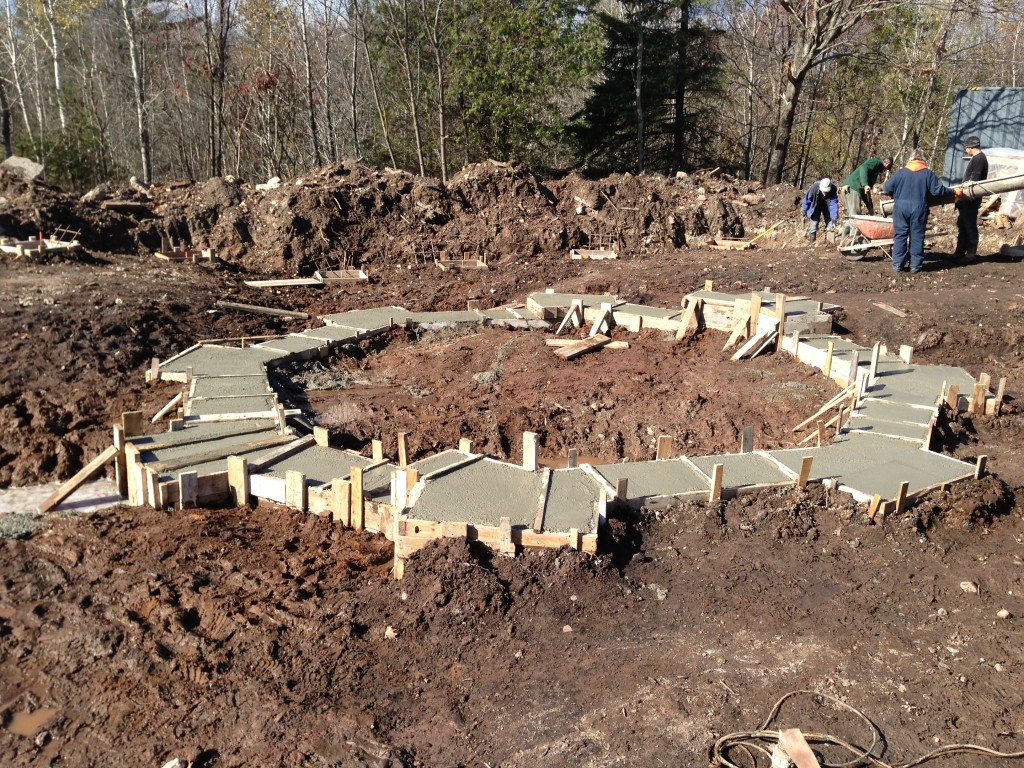
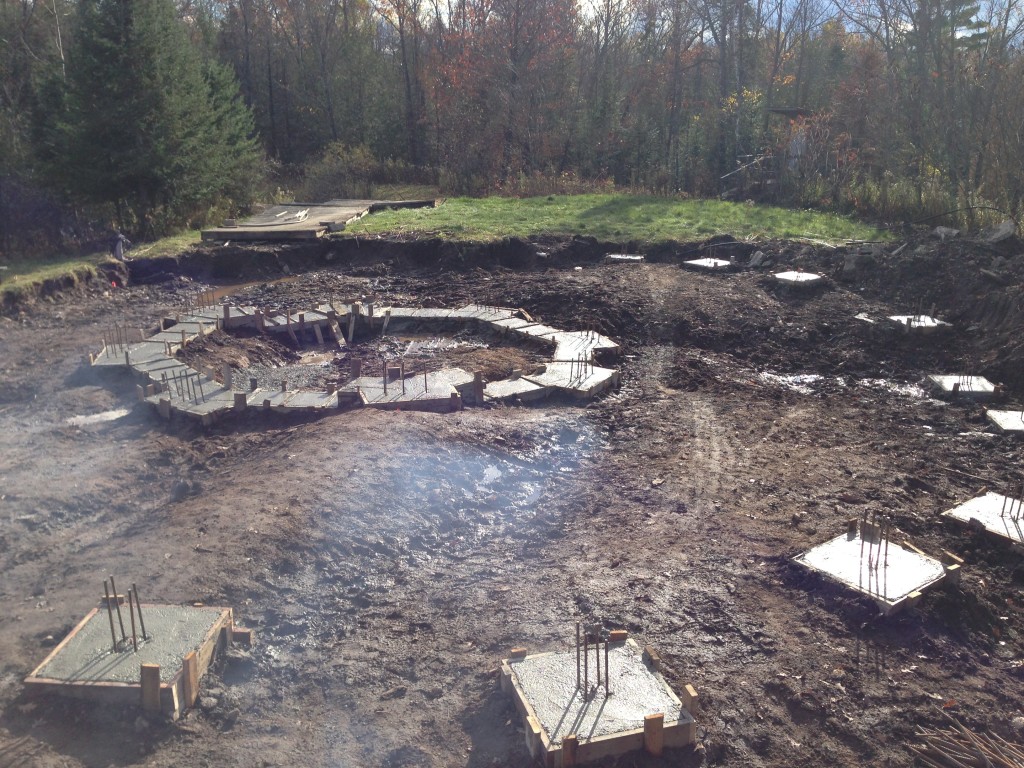
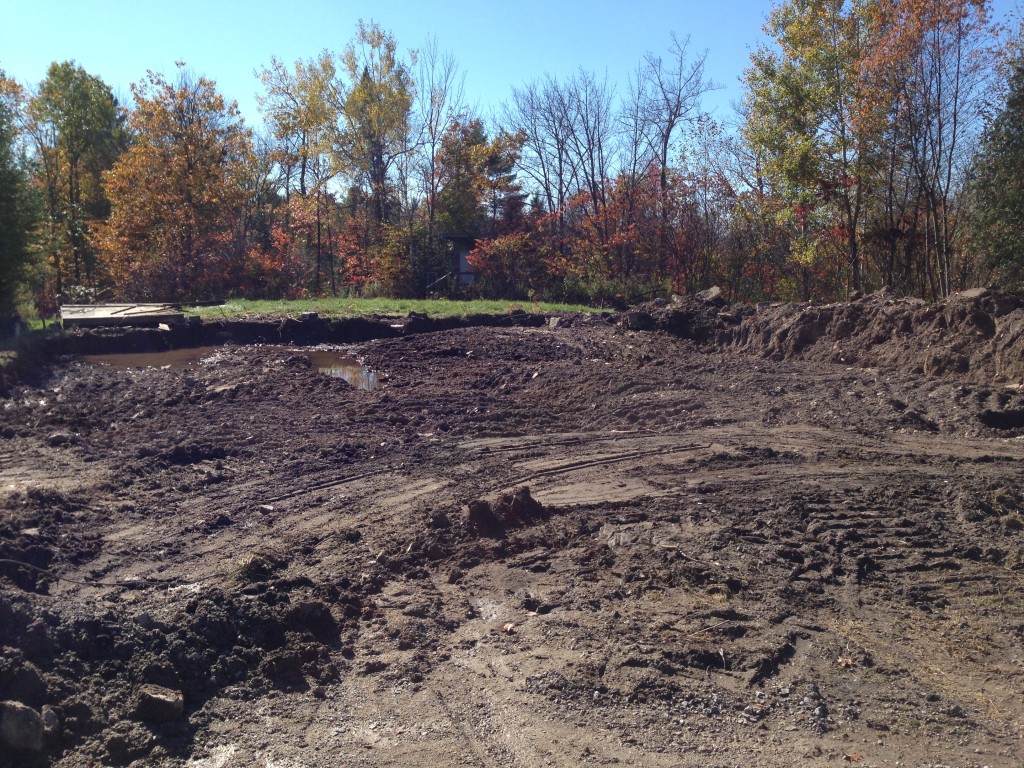
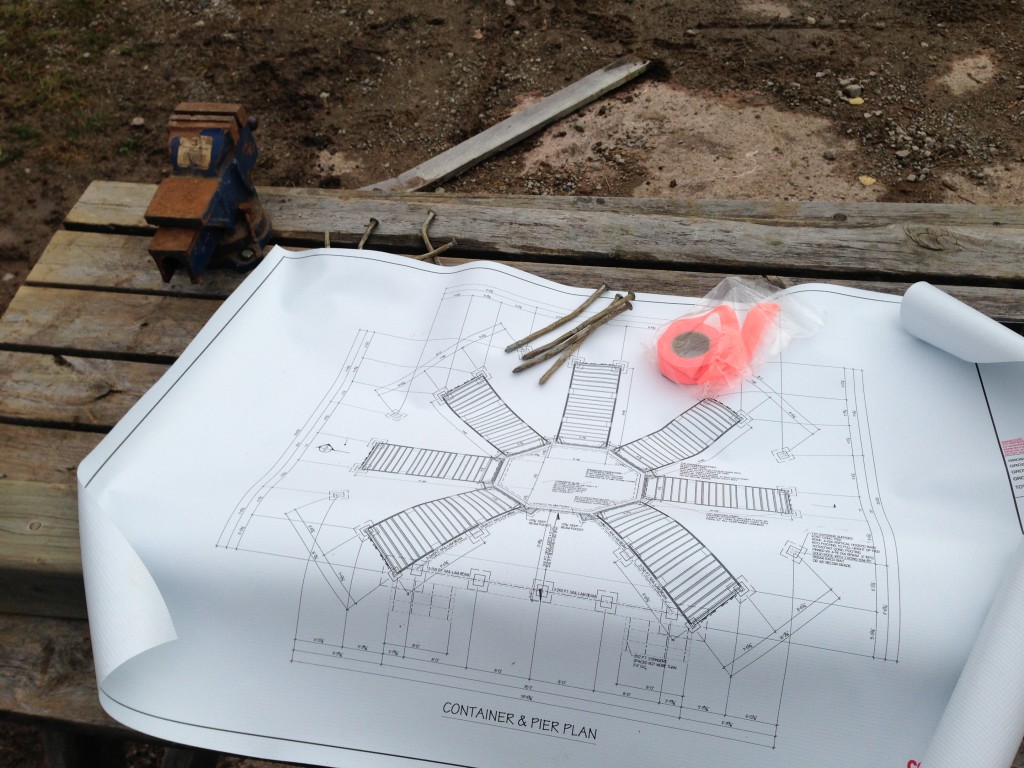
Old man Winter was finding its way quickly into Southern Ontario and we were knee deep in building foundations for our shipping container cabin. The Bobcaygeon area is known for rocky terrain with a clear presence of cambrian and pre-cambrian geology. The entire foundation area was excavated and scraped down to the granite bedrock. Due to the uneven rock terrain, we decided bringing in surveyors to accurately locate the centre octagon points and outer piers would be a worthwhile investment. After all, it isn’t exactly easy to undo concrete work.

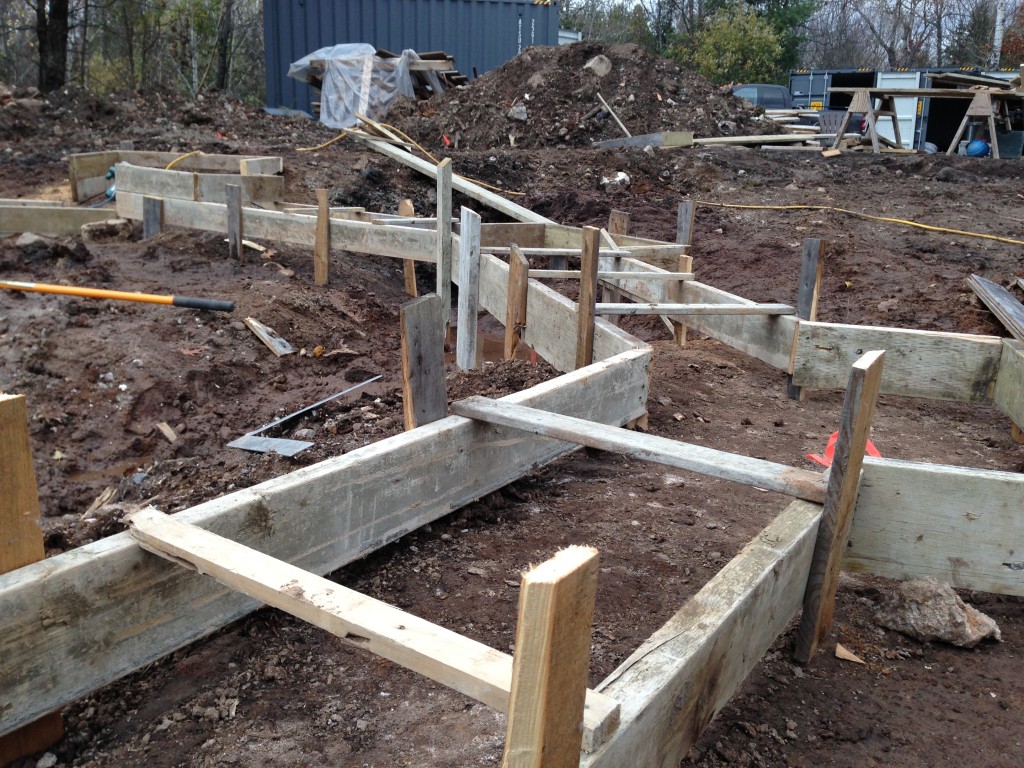
Concrete forming commenced for the footings, with some crafty carpentry work to follow the natural granite. Rebar pins were drilled into the granite for all footings. Rebar reinforcements were inserted into concrete footings and with projections for foundation walls and piers to come next. Let’s just say these piers are securely fastened to mother earth and we won’t have any concerns for foundation settlement, that is for sure. And just in the nick of time with winter settling in!

 excavated area

Excavation of shipping container cabin site

survey pins 2

Construction plans for shipping container cabin

surveyors 1

Surveyors to accurately locate piers

surveyors 2

Measurements and anchoring to the rock foundation

survey pins

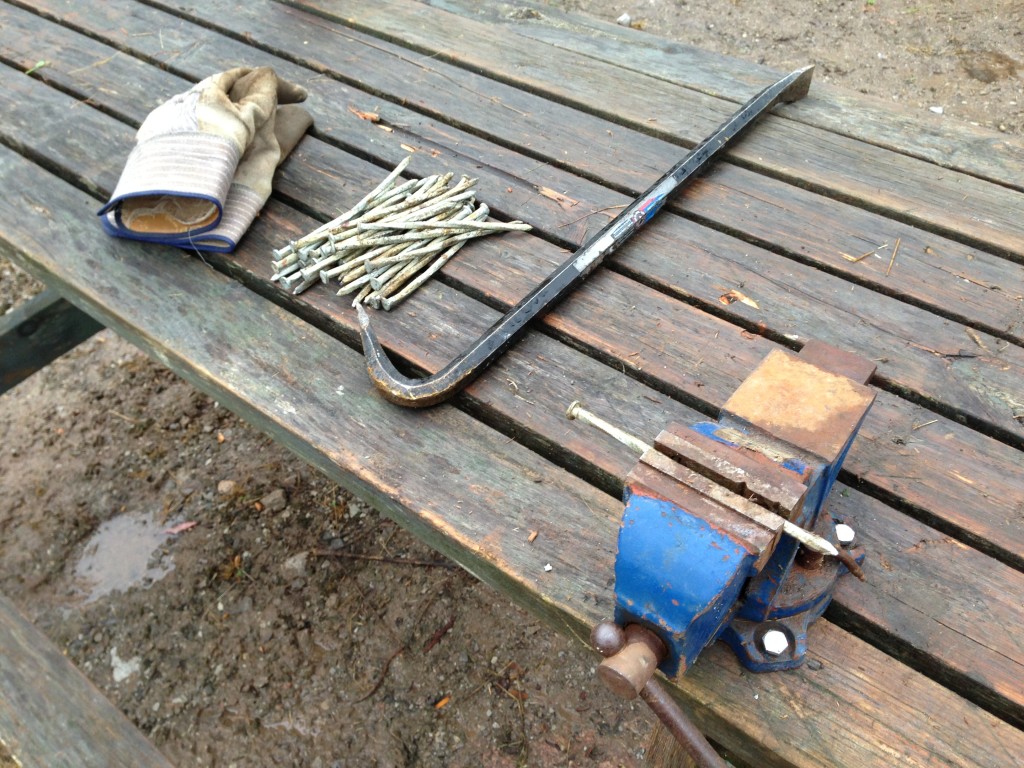
Straightening metal spikes from the disassembled barn for transformation into markers

surveyors 3

Marking our locates

footings 2

Crafty centre octagon form building

footings 6

Initial octagon cement pour

footings 7 done

Aerial view of future Octopod

Do you have any questions regarding building foundations in our project? We’d be happy to share our learnings. In fact, there’s been so much interest in our project we are putting together a free of charge sneak peek of our Do it Yourself Shipping Container Cabin kit. Sign up for our blog if you’d like to be the first to know once it becomes available. Or leave a comment.

Demolishing the old to make room for our new shipping container cabin

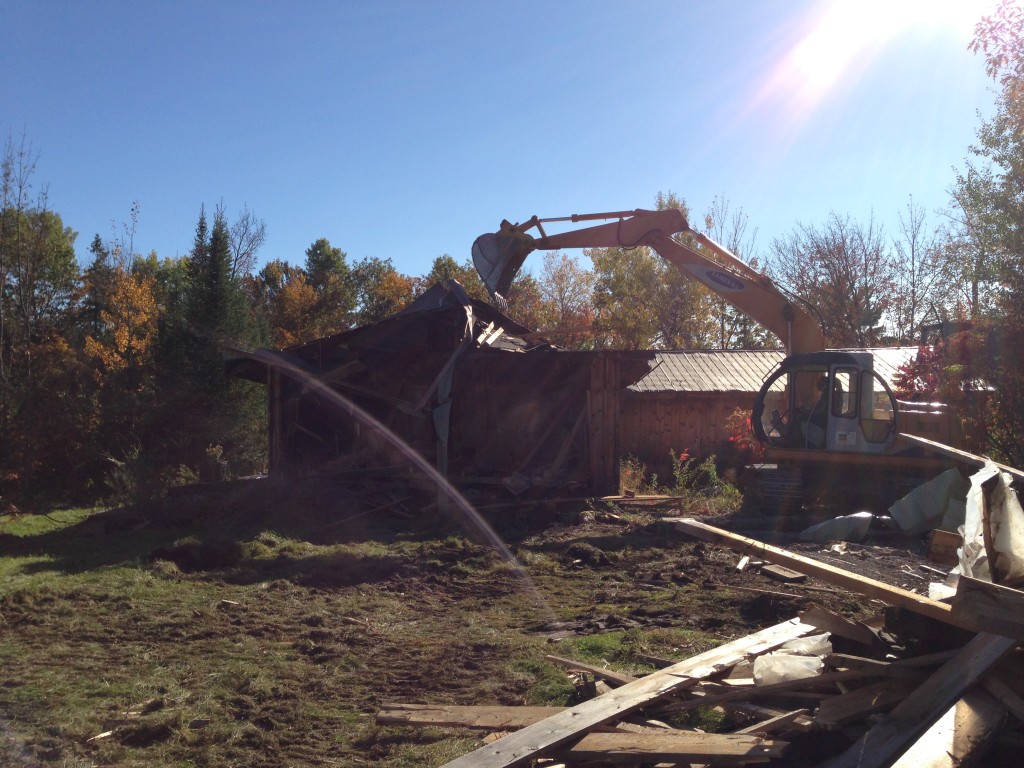
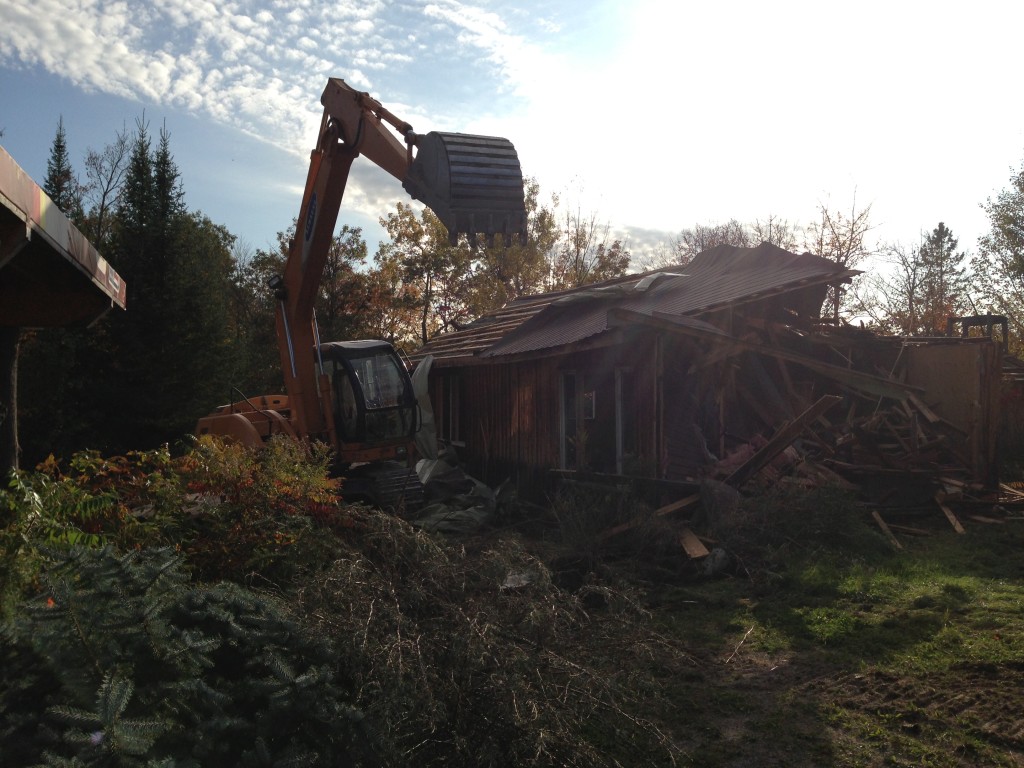
Demolition time has arrived.

The excavator and our seasoned contractor George are making quick work of what is otherwise a mountain of carnage.

The old cabin was rotted from beneath, but it was built tough. Demolishing the old revealed that this little cabin had multiple layers of material in every part of its construction. The floors were composed of steel beams, joists, tongue and groove subfloor, SM foam, plywood, and finally topped with hardwood flooring. The walls were tongue and groove pine on the interior, studs, fiberglass insulation, tongue and groove board exterior, tongue and groove wood siding, topped with an extra layer of cedar board and batten. The ceiling to roof was composed of tongue and groove pine ceiling, studded partially vaulted ceiling, fiberglass insulation, roof rafter joists, tongue and groove board roof sheeting, asphalt shingles, wood strapping, steel roofing. The amount of material to dispose, recycle, reuse and burn was equivalent to 2 or 3 such structures.

Looking forward to starting our foundations next.

demolition0

demolition1

demolition2

demolition3

If you have any questions about our demolition experience, please contact us or leave a comment below. You can also follow our project and be the first to know what’s going on by signing up for our blog.

Taking Delivery of our Shipping Containers

sea container cabin

The Big Day (or days as it turned out) has arrived to take delivery of our shipping containers for our future shipping container cabin.

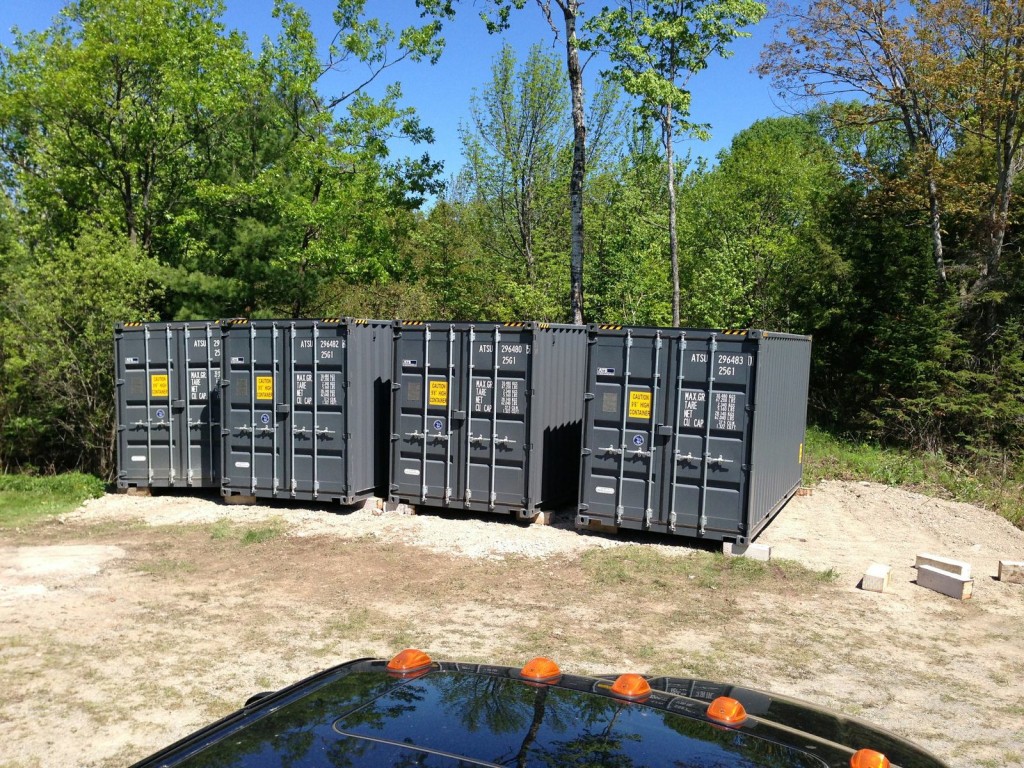
All 8 containers have arrived from China.  So we headed up to the shipping container yard to do a pre-inspection of the containers.  Most importantly was to verify the shipping placard labels for the pesticide treatments used during manufacturing of the wood floors.  The treatment was not what we expected to receive (this is not a feature that you can specify when ordering containers), but after some research we satisfied ourselves with it’s characteristics and that it will be satisfactory for our project given our construction techniques.
In Ontario, with all the snow melting in the spring time, it results in load restrictions for hauling heavy loads during this time of year.  In our case, the last 1km of travel is on a seasonal dirt road which is even more susceptible to road damage.  As a result, we needed to wait until the “half load” trucking restrictions were lifted by the local municipality, and delayed our ability to take delivery of the containers.
Container_Delivery1

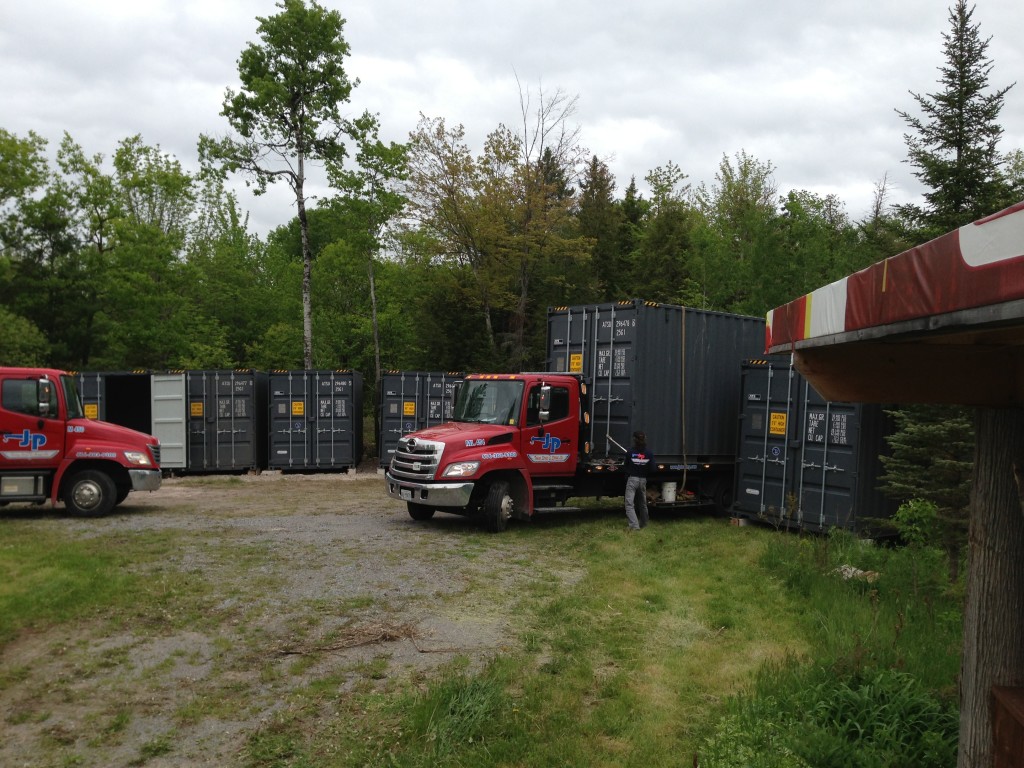
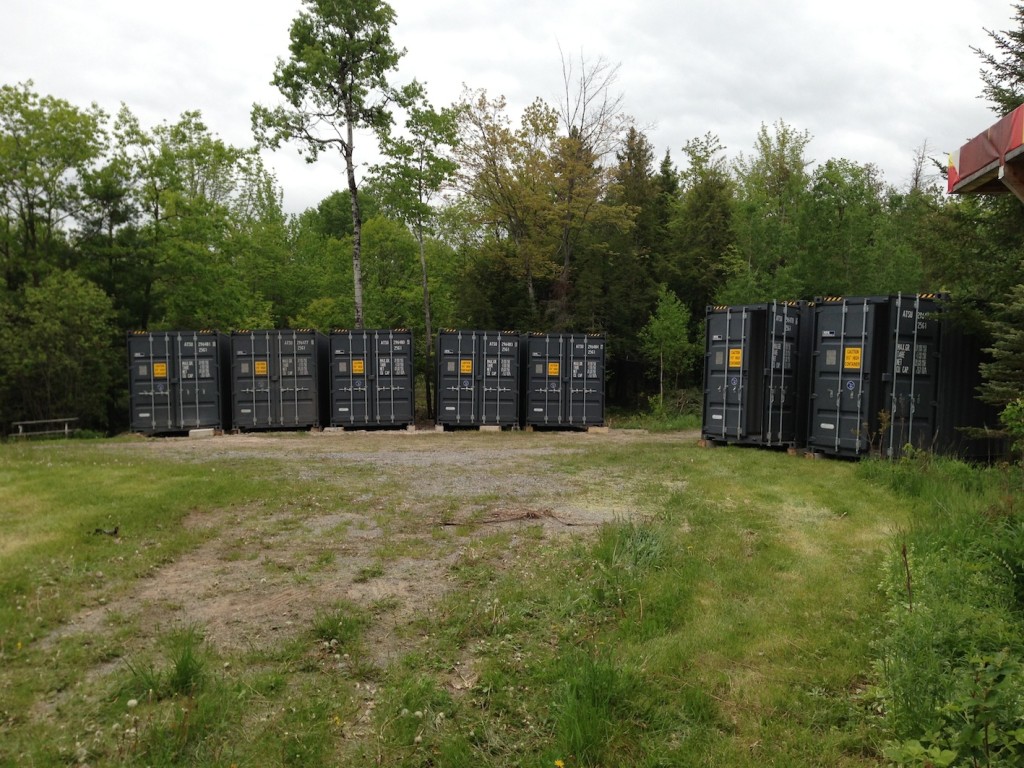
Before the containers arrived, 50 cubic yards of gravel was brought in to expand the lay down area to accomodate all 8 containers beside the proposed construction site.  Here is a video of the existing cabin and lay down area, the Octopod will cover the area of the existing cabin and the drive shed.  VIDEO:  cabin before 360

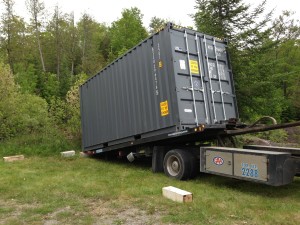
All 8 containers were planned to be shipped up on a Tuesday.  The shipping company asked to advance shipment of half the cans to the previous Friday night and Saturday.  After waiting all evening, the 4 containers arrived at 12 midnight under a full moon.  The containers were unloaded from the tilt and load trucks and placed onto railway tie timber.  The truck drivers didn’t leave until 2am after working in the dark, and decided not to return on Saturday.  This meant the remaining containers would be shipped on Tuesday as originally planned.  Upon returning again on Tuesday, we noticed some damage to one of the containers on the front top beam above the door.  With the beauty of technology we were able to take photos and send them to the container company, who with excellent customer service in mind, had one of the trucks backhaul the damaged container and send a replacement unit that same day.  Here is a video of a container being unloaded from a truck onto railway tie blocks.  VIDEO:  container unloading

 Container_Delivery2

 container deliveries first four

SeaContainerDelivery


Do insulating coatings for Shipping Container Homes work?

Insulating Coatings

Can you imagine spraying an insulating paint in place of interior framing and traditional insulation methods? Talk about compelling. This chapter of the project describes the research that I went through to confirm whether or not insulating coatings for shipping container homes works for my application. The good news is we came to a conclusion. It is much better to reach a clear conclusion with supporting mathematics than it would have been to proceed on hope and faith.

4 Steps to Reaching a Definitive Conclusion on Insulating Coatings and Whether they live up to their Manufacturer’s Promise

1. Web based research

The first step in my research was a thorough and time consuming Internet search. This included finding the complete set of insulating coating product manufacturers, reviewing their product promises, and their application recommendations. There were very few companies that even passed the sniff test to be worthy of consideration. I read through countless blogs from marine enthusiast clubs to other shipping container housing projects to see what others have experienced. The result of this research was a lot of skepticism.

2. Direct contact with suppliers

I had different levels of contact with each supplier. I started with email contact with three suppliers. I proceeded to telephone conversations with reps and I even went as far as meeting representatives in Houston, Texas.

3. Doing the math

The usual questions and answers around insulating values are centered on R values. I was unable to get satisfactory answers regarding R value for insulating coatings so I changed my angle of questioning towards the raw building block of “Heat Loss” calculations. I specified my desired study condition and requested the technical engineering folks to provide me with raw heat loss calculations based on various recommended thickness levels of their insulating coating applications. Heat loss calculations came in the form of BTU loss per hour per square foot of surface area (btu/hr – sqft, or btu/sqft – hr). By asking this more technical question, I was able to get more direct and raw technical answers that weren’t masked with a bunch of arm waving and marketing lingo.

4. Bench scale testing

This would have been my final test to confirm whether the math held true, before building insulating coatings into my construction design work. But since the math was not attractive, I did not proceed to this step. I was very near moving to this step, in hopes and anticipation of promising math. The bench scale test was going to involve the construction of test boxes made of steel. Several test boxes of identical size and material would be built from off the shelf cold air return HVAC ducting materials given it is cost effective and readily available at the local HVAC shop. The boxes were likely going to be sized about 2’ square. Each box was going to be outfitted with a standard light fixture on the inside for creating a consistent heat source for all boxes.

There’s justification for skepticism on insulating coatings for shipping container homes.

Based on my raw calculations the most promising suppliers provided, in cooler climates insulating coatings simply perform poorly.

Insulating coatings applied per the manufacturer’s recommendations have 8x the heat loss of more traditional 2″ of closed cell spray foam for colder climates. No wonder all the skepticism online and good thing I was forewarned that it just might be too good to be true that an actual solution to not having to frame the inside of shipping container homes exists.

For more information on my findings, drop me an email or buy our DIY Shipping Container Cabin kit.

Project ‘Octopod’ Shipping Container Cabin

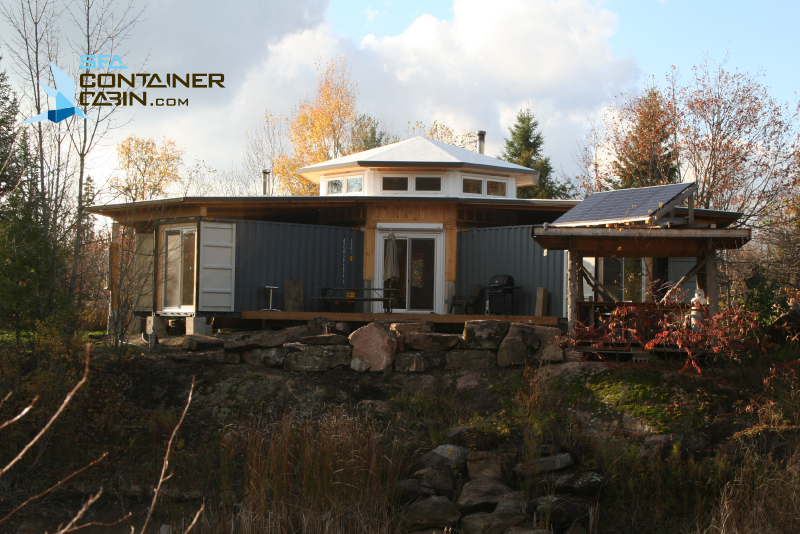
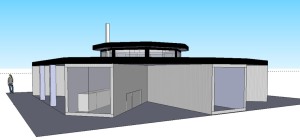
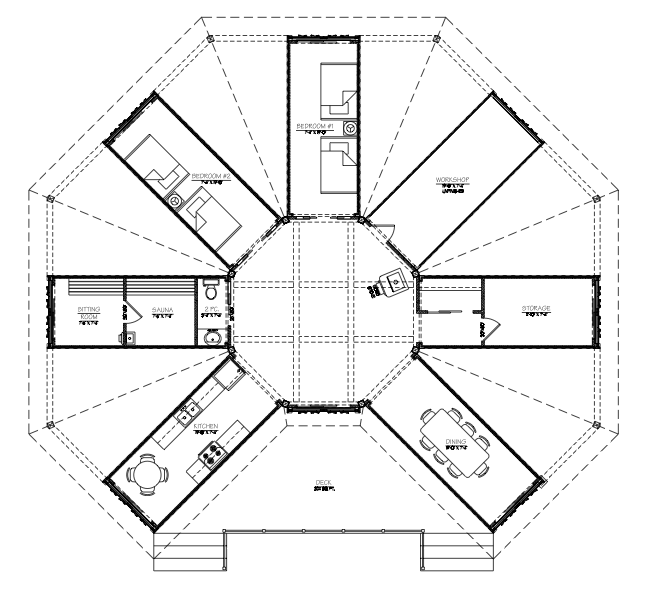
The ‘Octopod’ is our shipping container cabin and it features a unique Hub and Spoke design. The ‘Hub’ is a large centre octagonal great room and each radiating container is a ‘Spoke’ that serves a different purpose.  The name was inspired by our 4 year old daughter who is equally excited about the project as we are.

Sea-Container-Cabin-Finished-Front-View-Close-up2

The Octopod is based on the following design philosophies:

  • work with the containers, not against them
  • minimize the amount of cutting and welding
  • maximize the inherent strengths of containers, such as their structural strength, air tight envelope, material durability, and their high security features
  • maximize natural light and ventilation with window and door glazing at extremities and clear story centre
  • integrate numerous off-grid features
  • bill of construction materials to be sourced from local suppliers and sawmills

sea container cabin concept 2


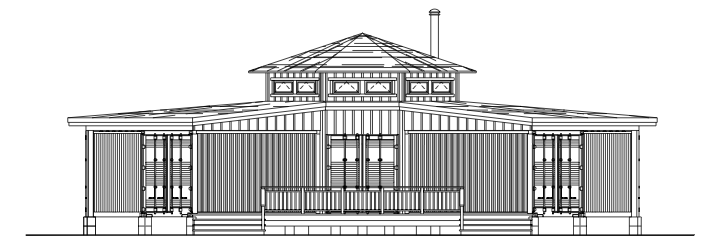
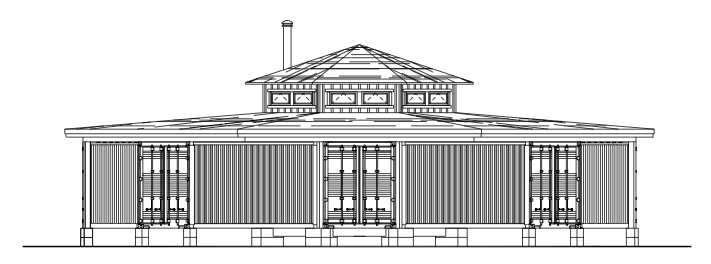
The Octopod is 1400 square feet in gross floor area and will sit on 22 concrete piers. The structural integrity of the containers will allow them to sit on piers and clear span their full length. Taking advantage of this strength will minimize the amount of foundation work otherwise necessary for standard construction methods. The stock steel security doors will remain on the outward facing end of the containers, to be opened up and fully swung back when occupied, and can be shut and locked for high security when away.

Post and Beam timber will form the centre octogon great room. The vaulted ceiling height will be 18′ at its peak, with very large pine beams spanning overhead to support the indoor elevated water tower above the living space (to be describe further in future off-grid postings). The interior will be completely finished in warm wood products.

Seven 20′ high cube containers will be dedicated to various uses. A wood fired wet sauna will be featured on the west wing. A 2 piece washroom will be accessible to the interior. One dining box. One kitchen box. Two bedroom boxes. One workshop box. One storage and foyer box. Instead of an 8th box we are going with a large deck that has direct access (with security shutter) to the great room.

 sea container cabin overhead layout

 sea container cabin front

sea container cabin rear

If you have any questions on our Project Octopod Shipping Container Cabin, please leave us a comment or contact us.